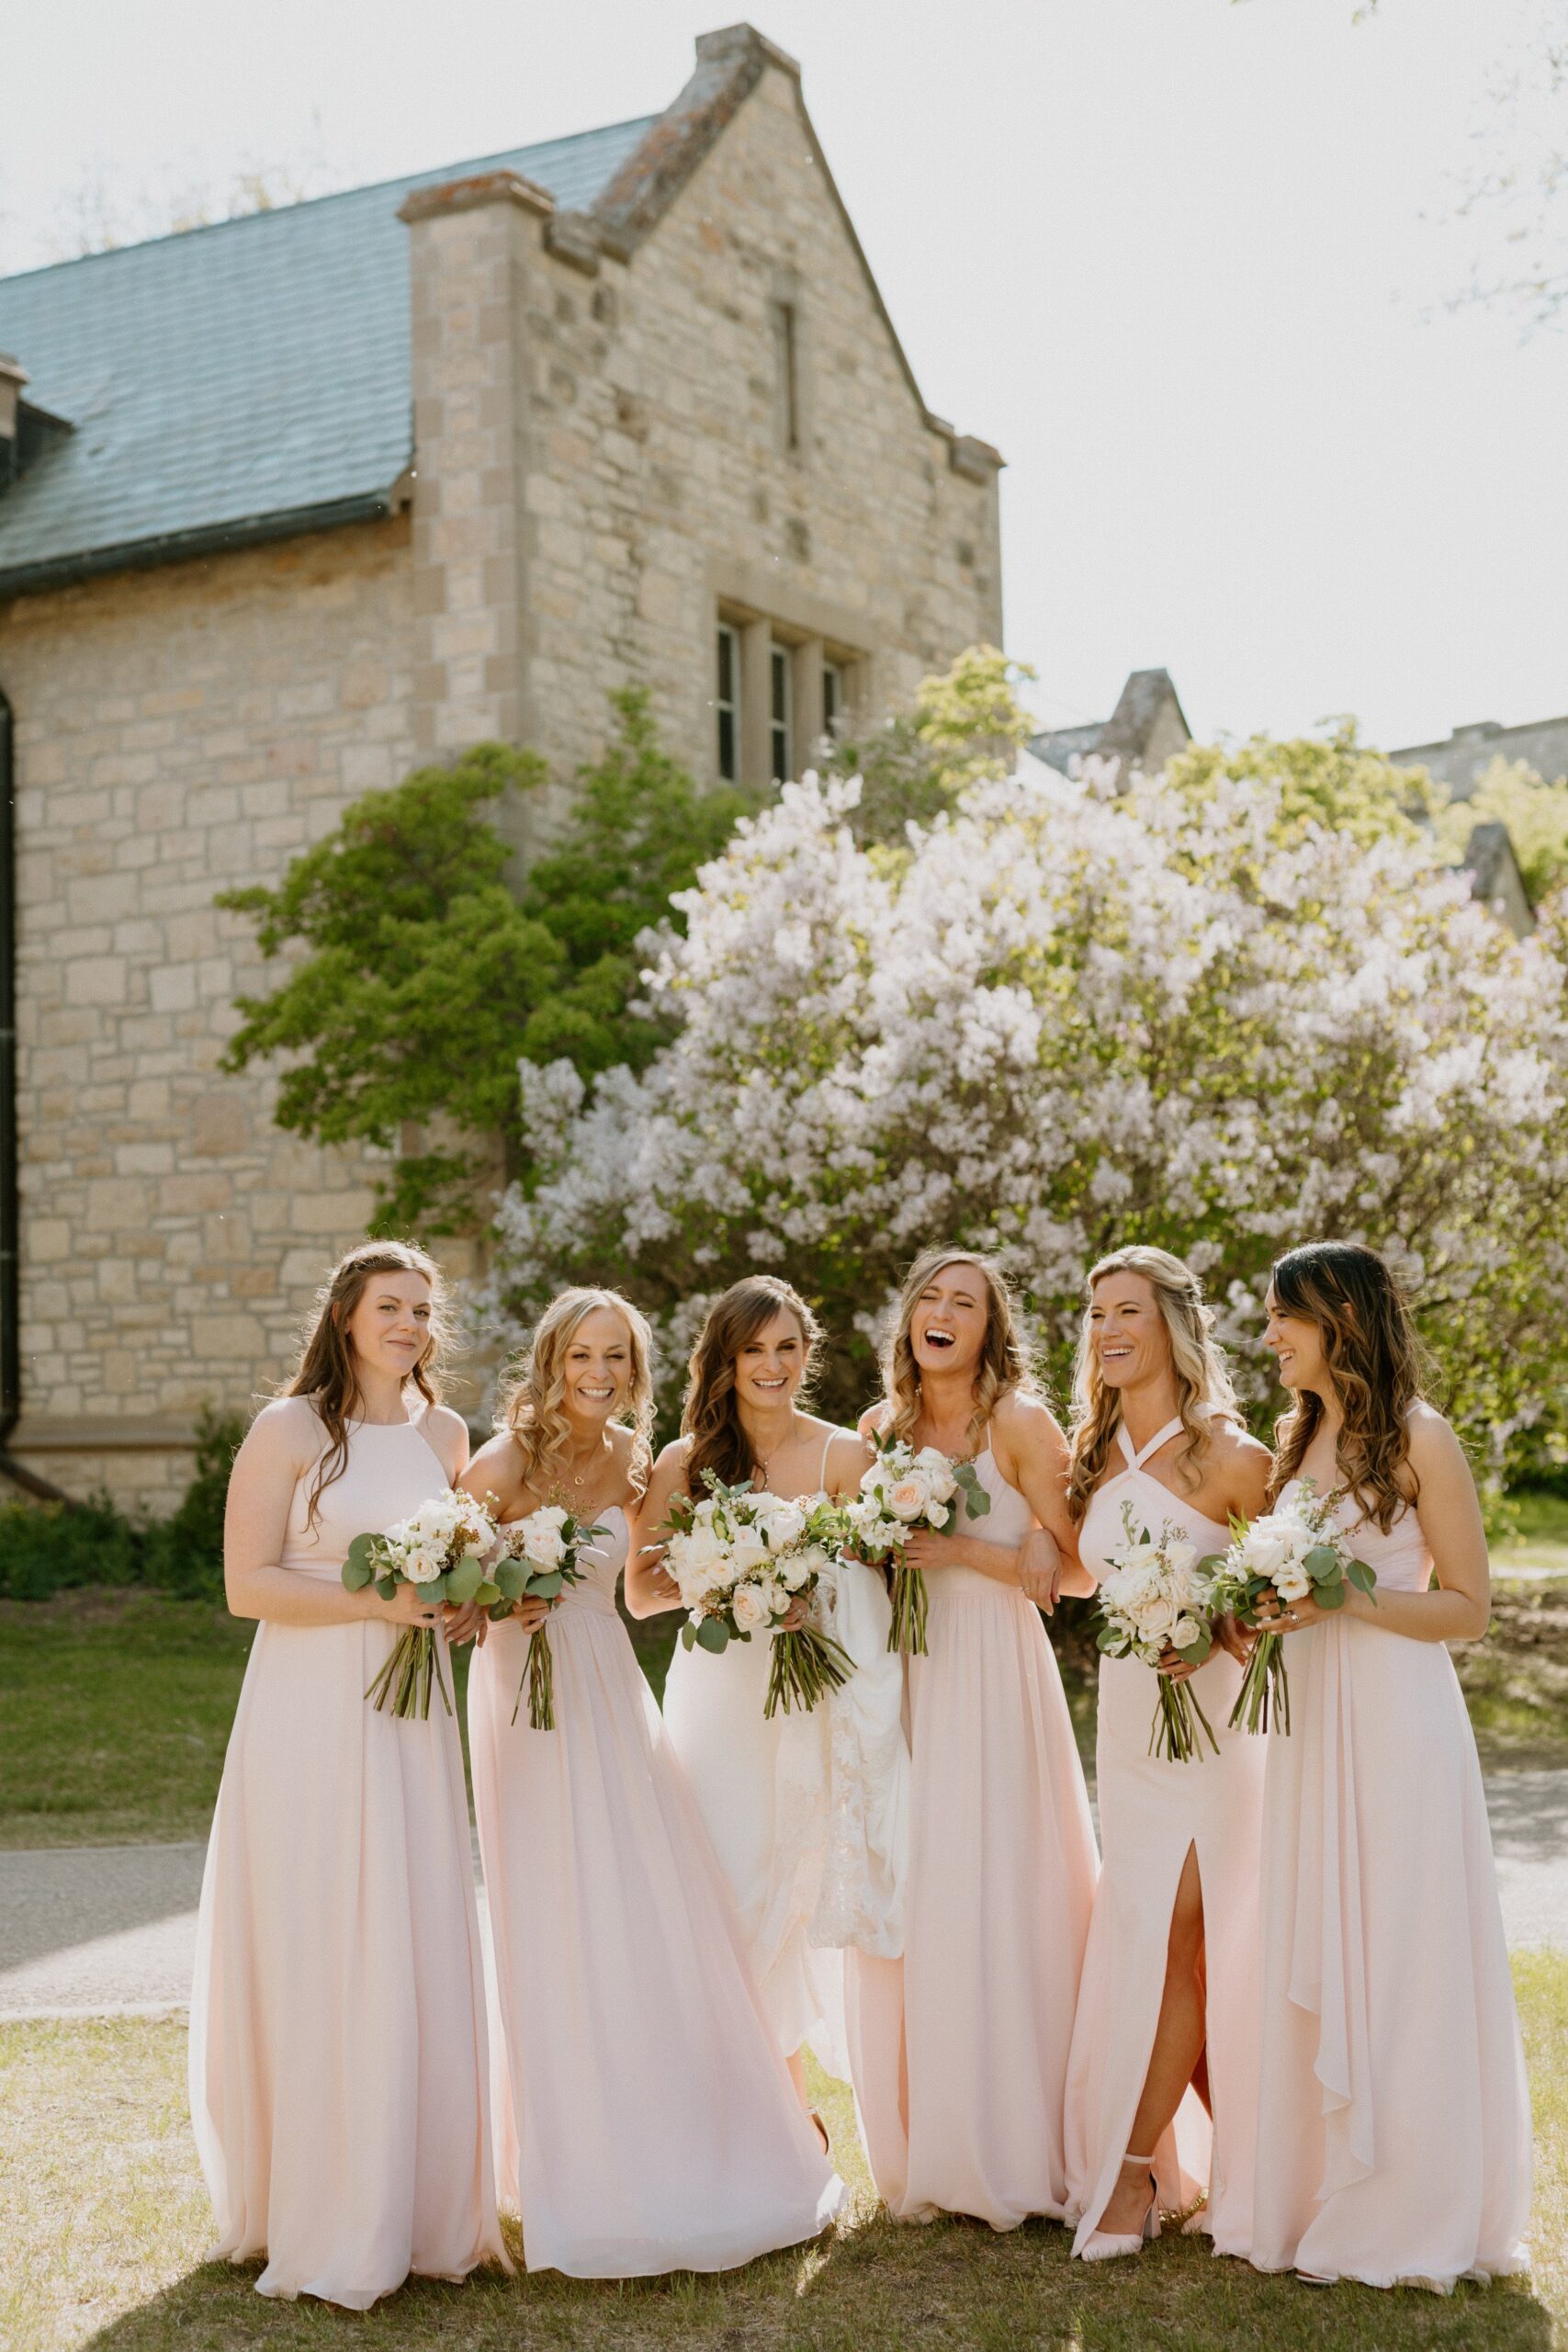
Best tips & tricks for challenging mid-day shooting!


Ahhh, summer at last!!! I LIVE for summer. Those late hour sunset shoots, the beach, a warm breeze, amazing location options. It’s a guarantee that if you’re a photographer you feel the highest thriving creativity in the summer time. It’s also a guarantee that you’ll be shooting things like wedding days during not always the most ideal time of the day for flattering lighting.
Two of the trickiest things to deal with when stuck shooting mid-day, is grass and trees tend to look neon yellow/lime green in the high sun (ew, david). Shadows and harsh light on faces can be SO hard to expose for.
I know this can be such a panic point – so I want to share some of my easy tips for easing these issues both in camera and in Lightroom!
FIXING NEON & YELLOW GRASS
Luckily, this fix is actually so easy to do, and nearly any neon grass situation can be entirely saved. Here’s my tips!
HOW TO HELP IN CAMERA:
(I am shooting on the Canon R6 Mirrorless) I set my Picture Style to Neutral. This in-camera tone/contrast adjustment menu is SO handy. I find that Neutral softens down any very vibrant colors, and helps create earthy soft tones throughout. I also know that every camera brand does shoot slightly different providing different ranges of saturation, contrast, tones. Play around with your Picture Styles if you haven’t before, and find one that works for you and your style!
HOW TO FIX IN LIGHTROOM:
First step, you can apply your favorite Lightroom preset if you’re going to use one. If you’re looking for a new set of presets that instantly give you soft sage/earthy greens – you’d love love love Vanilla + Haze from my Daydream Preset Collection! This will fix any issues with greens/yellows leaving only minimal extra adjustments and tweaks on your own!
Here are 5 easy steps to fixing these grass issues from scratch:
-
Open your image in the Develop Module
-
scroll down the right hand side menu to the HSL Sliders (Hue – Saturation – Luminosity).
-
Go to Saturation and bring down the yellow slider as it fits the image
-
Then do the same for green slider as needed
-
PRO TIP: Watch your sliders (especially yellow). Too intense of an adjustment and you may lack color in important parts like skin tones. .
-
-
Next hop over into the Hue slider and again make adjustments to the greens & yellow
-
Bringing the green slider to the right will give your grass and trees more of a minty & sage tone, and to the left a warmer look.
-
SHOOTING IN MID DAY DIRECT SUN:
I think we can all agree, mid day shooting with the sun directly above is a challenge! For every one of us. BUT I think we can all agree that when it’s done right you can achieve some amazing and creative results! A lot of the time this is unavoidable when shooting weddings and working with a tight timeline. There are ways though to LOVE shooting in the mid day, and still achieve amazing light + that backlit look you crave.
-
As you would during a golden hour session, always still try to pose your clients so that the sun is behind their heads. This will add a glow to them from behind, while keeping faces shadow free from hard light. It’s so important to always be aware of where your light is falling.
-
If patches of light and shadows are mixed across the face it can be nearly impossible to expose for this, leaving you with super contrast filled images, and faces/expressions being missed or unflattering. Avoid the sun coming straight down on a client – you’ll see dark shadows/circles under the eyes, nose, etc. So keep that sun behind your clients!
-
If you’re going for the direct sun / harsh light look (I LOVE getting creative with direct sun in my studio and during outdoor sessions), you’ll want to do the opposite of what you just read, and have the sun directly facing your client – again watching how the light fall on your clients face, avoiding any extremely harsh shadows.
-
Bump your aperture to anywhere between 2.8/f and 7.0/f to bring out the details in the brightly lit spots like your clients faces, a wedding dress, the sky. Adjust your shutter speed to get the exposure you love!
And of course, you can skip the direct sun and find areas to shoot with beautiful open shade – which means a shaded area, but there is soft fill light bouncing in from surrounding areas, i.e. a white wall, roads.
I also love shooting under trees in the mid day sun. Place clients with the sun behind, it will trickle down through the leaves and branches from behind – keeping faces free of any spotty sun patches.
Now get out there, leave your comfort zone and and try some mid day shooting. Remember that this is challenging light, but just slowing down, being mindful of the direction of the light, and getting creative, you can fully love shooting in new lighting situations!
Erin