")
Step-by-step guide to culling images in Lightroom


Before you even get to editing the photos you’ve just taken – you need to get them into Adobe Lightroom, backed up, and then sort through all of the images you can’t wait to edit. I’ve put together a step-by-step guide to help save you time and energy. Follow these tips and tricks to develop an efficient culling workflow using Lightroom Classic!
1. Importing & backing
up your images in Lightroom
You’re probably already familiar with the import and back-up process, but in case you’re a Lightroom beginner here’s the simple 4-step process:
-
Pop your memory card into your card reader.
-
From here, you’ll need to import your raw photos into both Lightroom as well as onto an external hard drive for safe keeping.
-
Click import in your Lightroom File menu, and a menu will pop up. Select the memory card your images are on.
-
Next you will want to create a Collection with images and give them a name.
Following these simple steps will keep your Lightroom organized by session. After creating the Collection, you’ll find the space below asking you where you’d like to store your files. I suggest using an external hard drive — here’s the one I use — instead of your computer’s internal hard drive. I’ve learned this lesson the hard way… RAW files take up a hell of a lot of space!
The last step is to create a folder for this session on your hard drive and click IMPORT.
NOTE: You’ll need an Adobe Creative Cloud subscription to access Lightroom Desktop Classic.
2. Culling photos in Lightroom
Before we talk about the process, let’s first define what “culling” even is. “Culling” is the term used for sorting your images, filtering the images you want to edit from the ones that didn’t quite turn out.
It will take Lightroom a bit of time depending on how many photos you are importing, but once they are fully imported, you can start the culling process.
There are many ways to do this, and additional software you can use, I use Photo Mechanic – but these are my personal tips on how to do this in Lightroom efficiently if you stick to one program!
Stay in the Library module and set your gallery style to show multiple images instead of single images. I like to set my screen to 2-3 images across so I can easily see the similar images in succession and quickly see the best of a set.
From here, I use hot keys to quickly make selections. When clicking through your gallery, you can use key “P” to pick an image you want to keep – this will flag it as a keeper and you’ll be able to filter to all your top picks later on! If you accidently flag the wrong image, or change your mind, you can use the “U” key to un-pick an image.
Repeat this until you’ve gone through the entire session. I like to have one hand on my arrow keys to navigate, and one hand on the hot keys to quickly make selections.
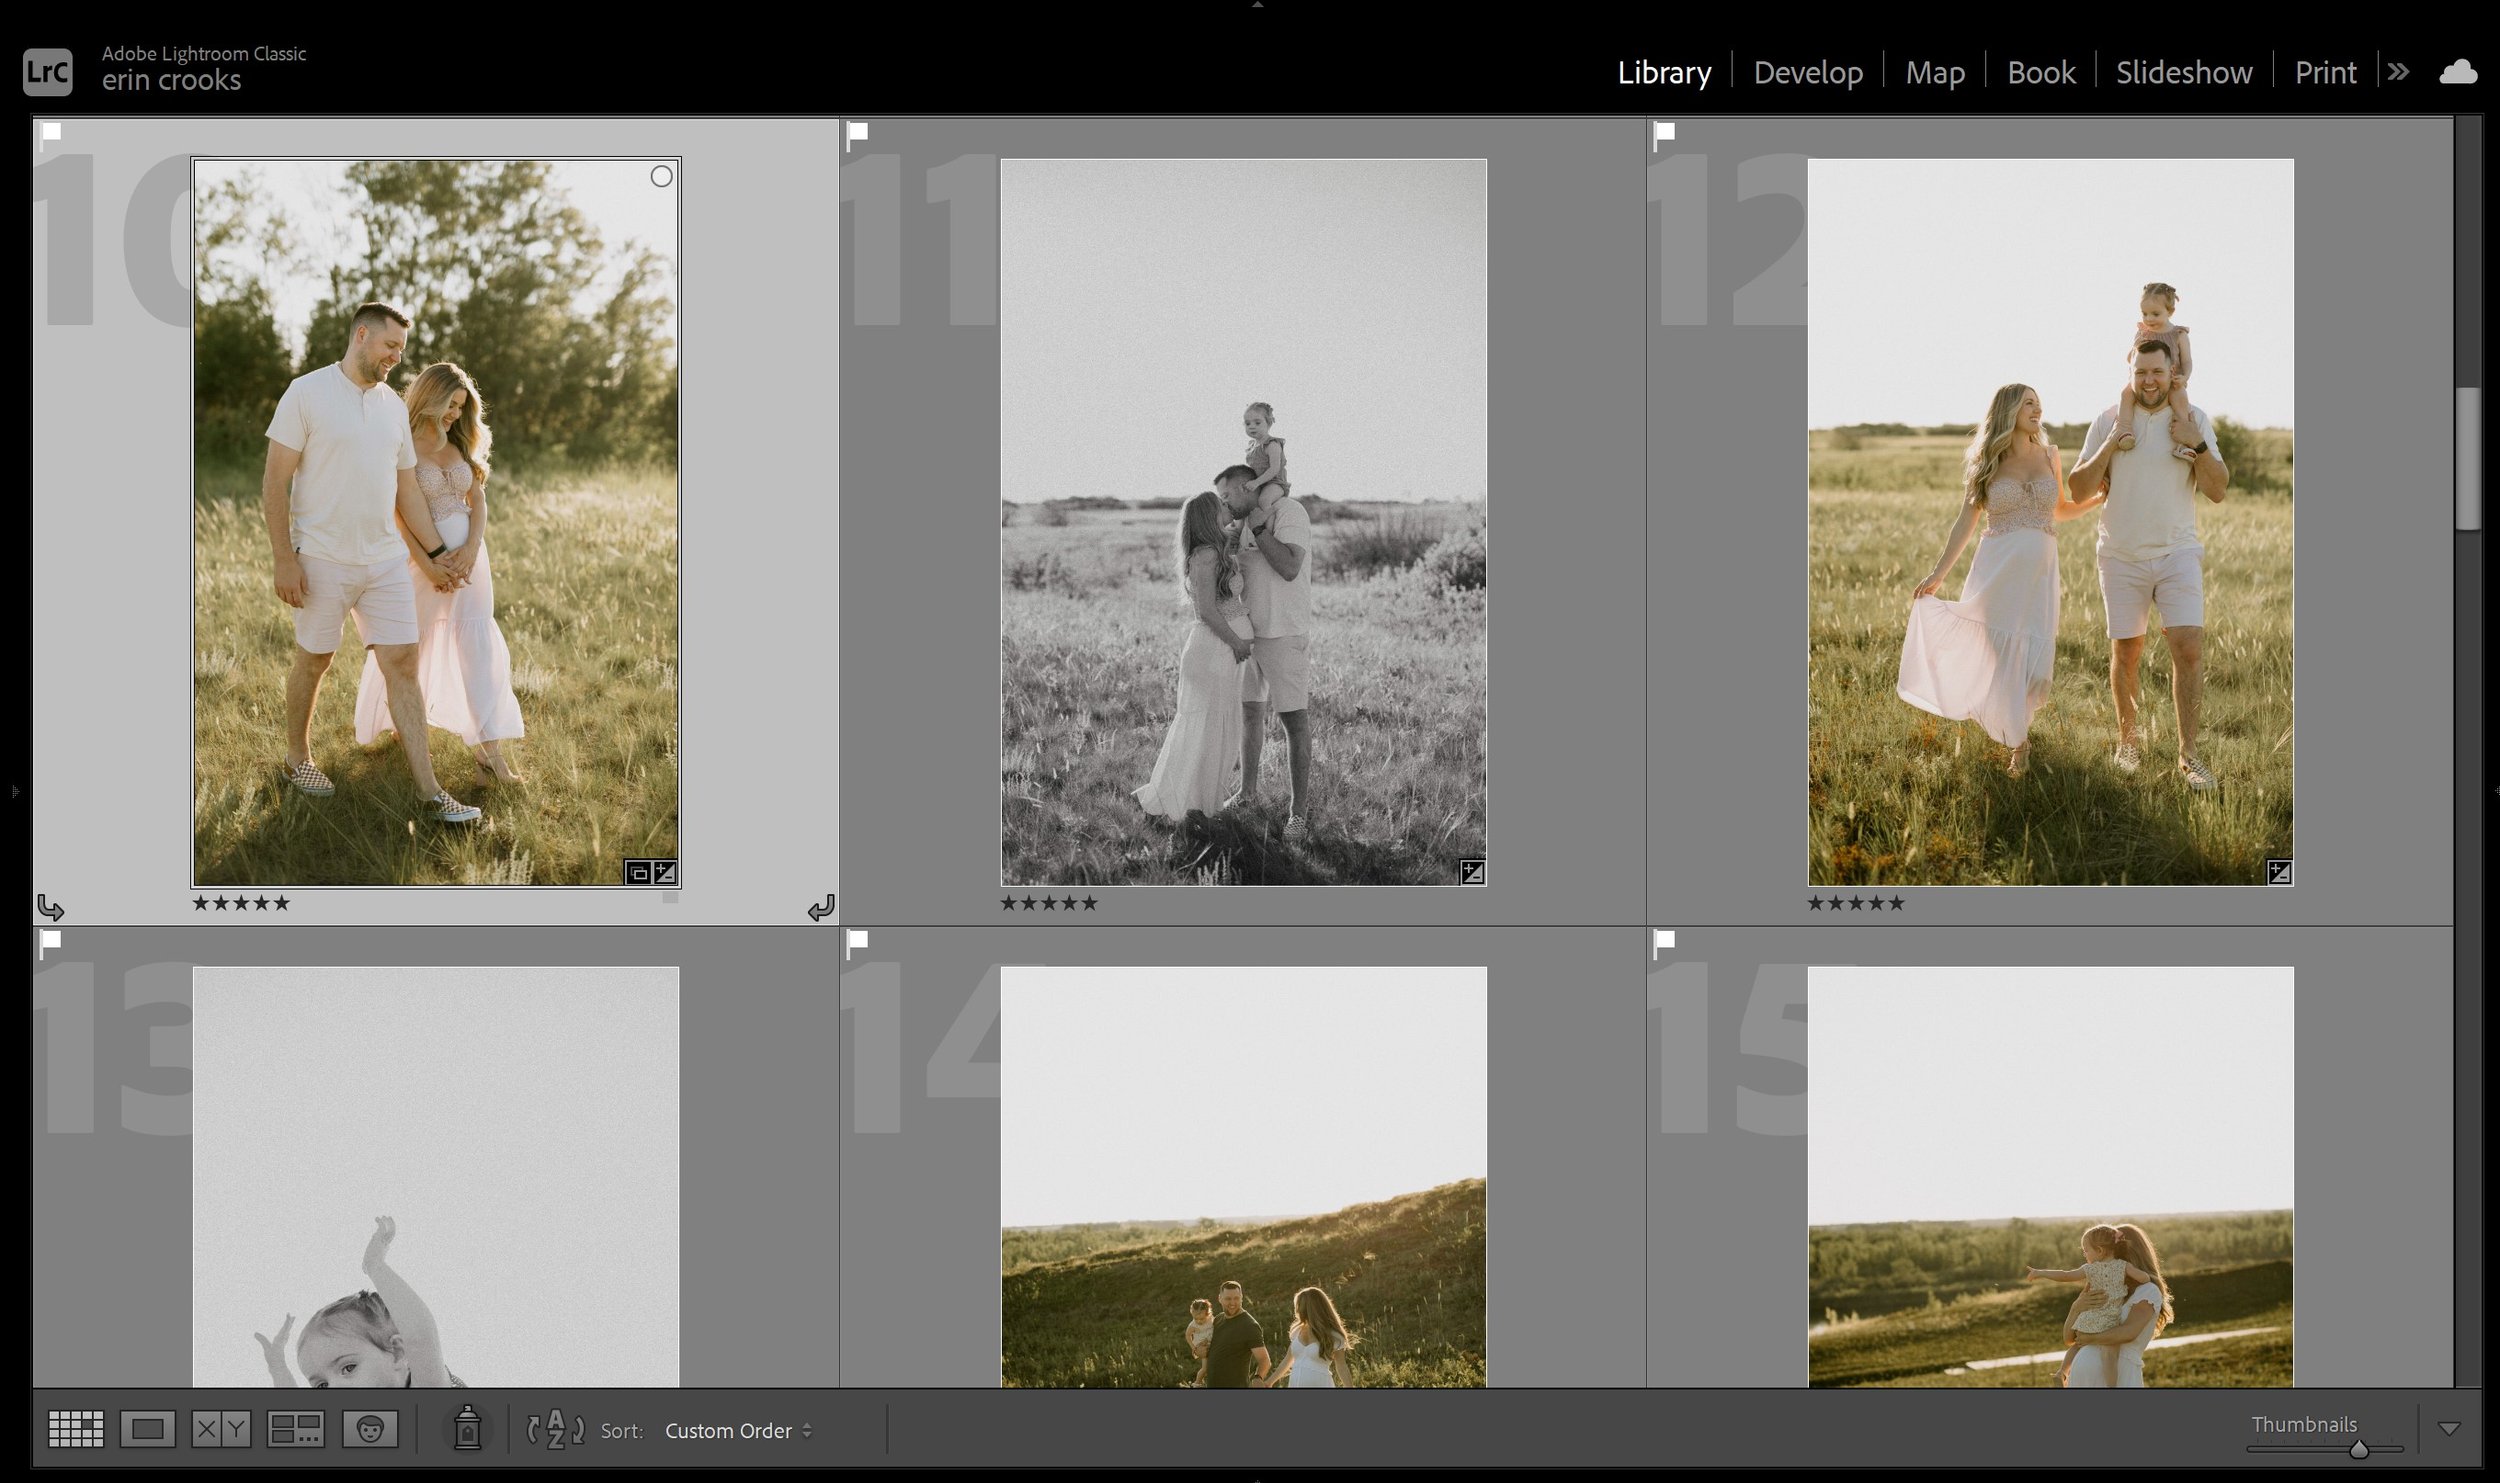
Images I have both Flagged and Rated in the Library Module of Lightroom Classic. These are images I loved so much I wanted to share as sneak peeks on my social media!
I used the 5 key to give each favourite 5 Stars — and the P key to flag each as a “pick” that will be included in my clients final gallery!
3. Rating your Top
Picks in Lightroom
The next step is to give a rating to my Top Picks (best images). I do this to find my favourite images, these are typically the photos I want to share with clients as sneak peeks, or to post on social media. To do this, I go back to the start of the album still in Library mode.
On the bottom of Lightroom Classic a menu will pop up when you hover showing all your photos, on the right hand side will be a pop up menu that might say “filters off”. Click here and you can select which images you want to see – select “Flagged”.
This will now narrow down all the images from the session, to just the photographs you selected for editing. Now, I go back through all my Flagged images and I rate my very top favourites!
Use the 1-5 number keys to set a rating, I typically set any I want to share as sneak peeks as a 5 Star. (Now in that bottom menu pop up you can sort to see your overall Flagged images, or the Rated images!)
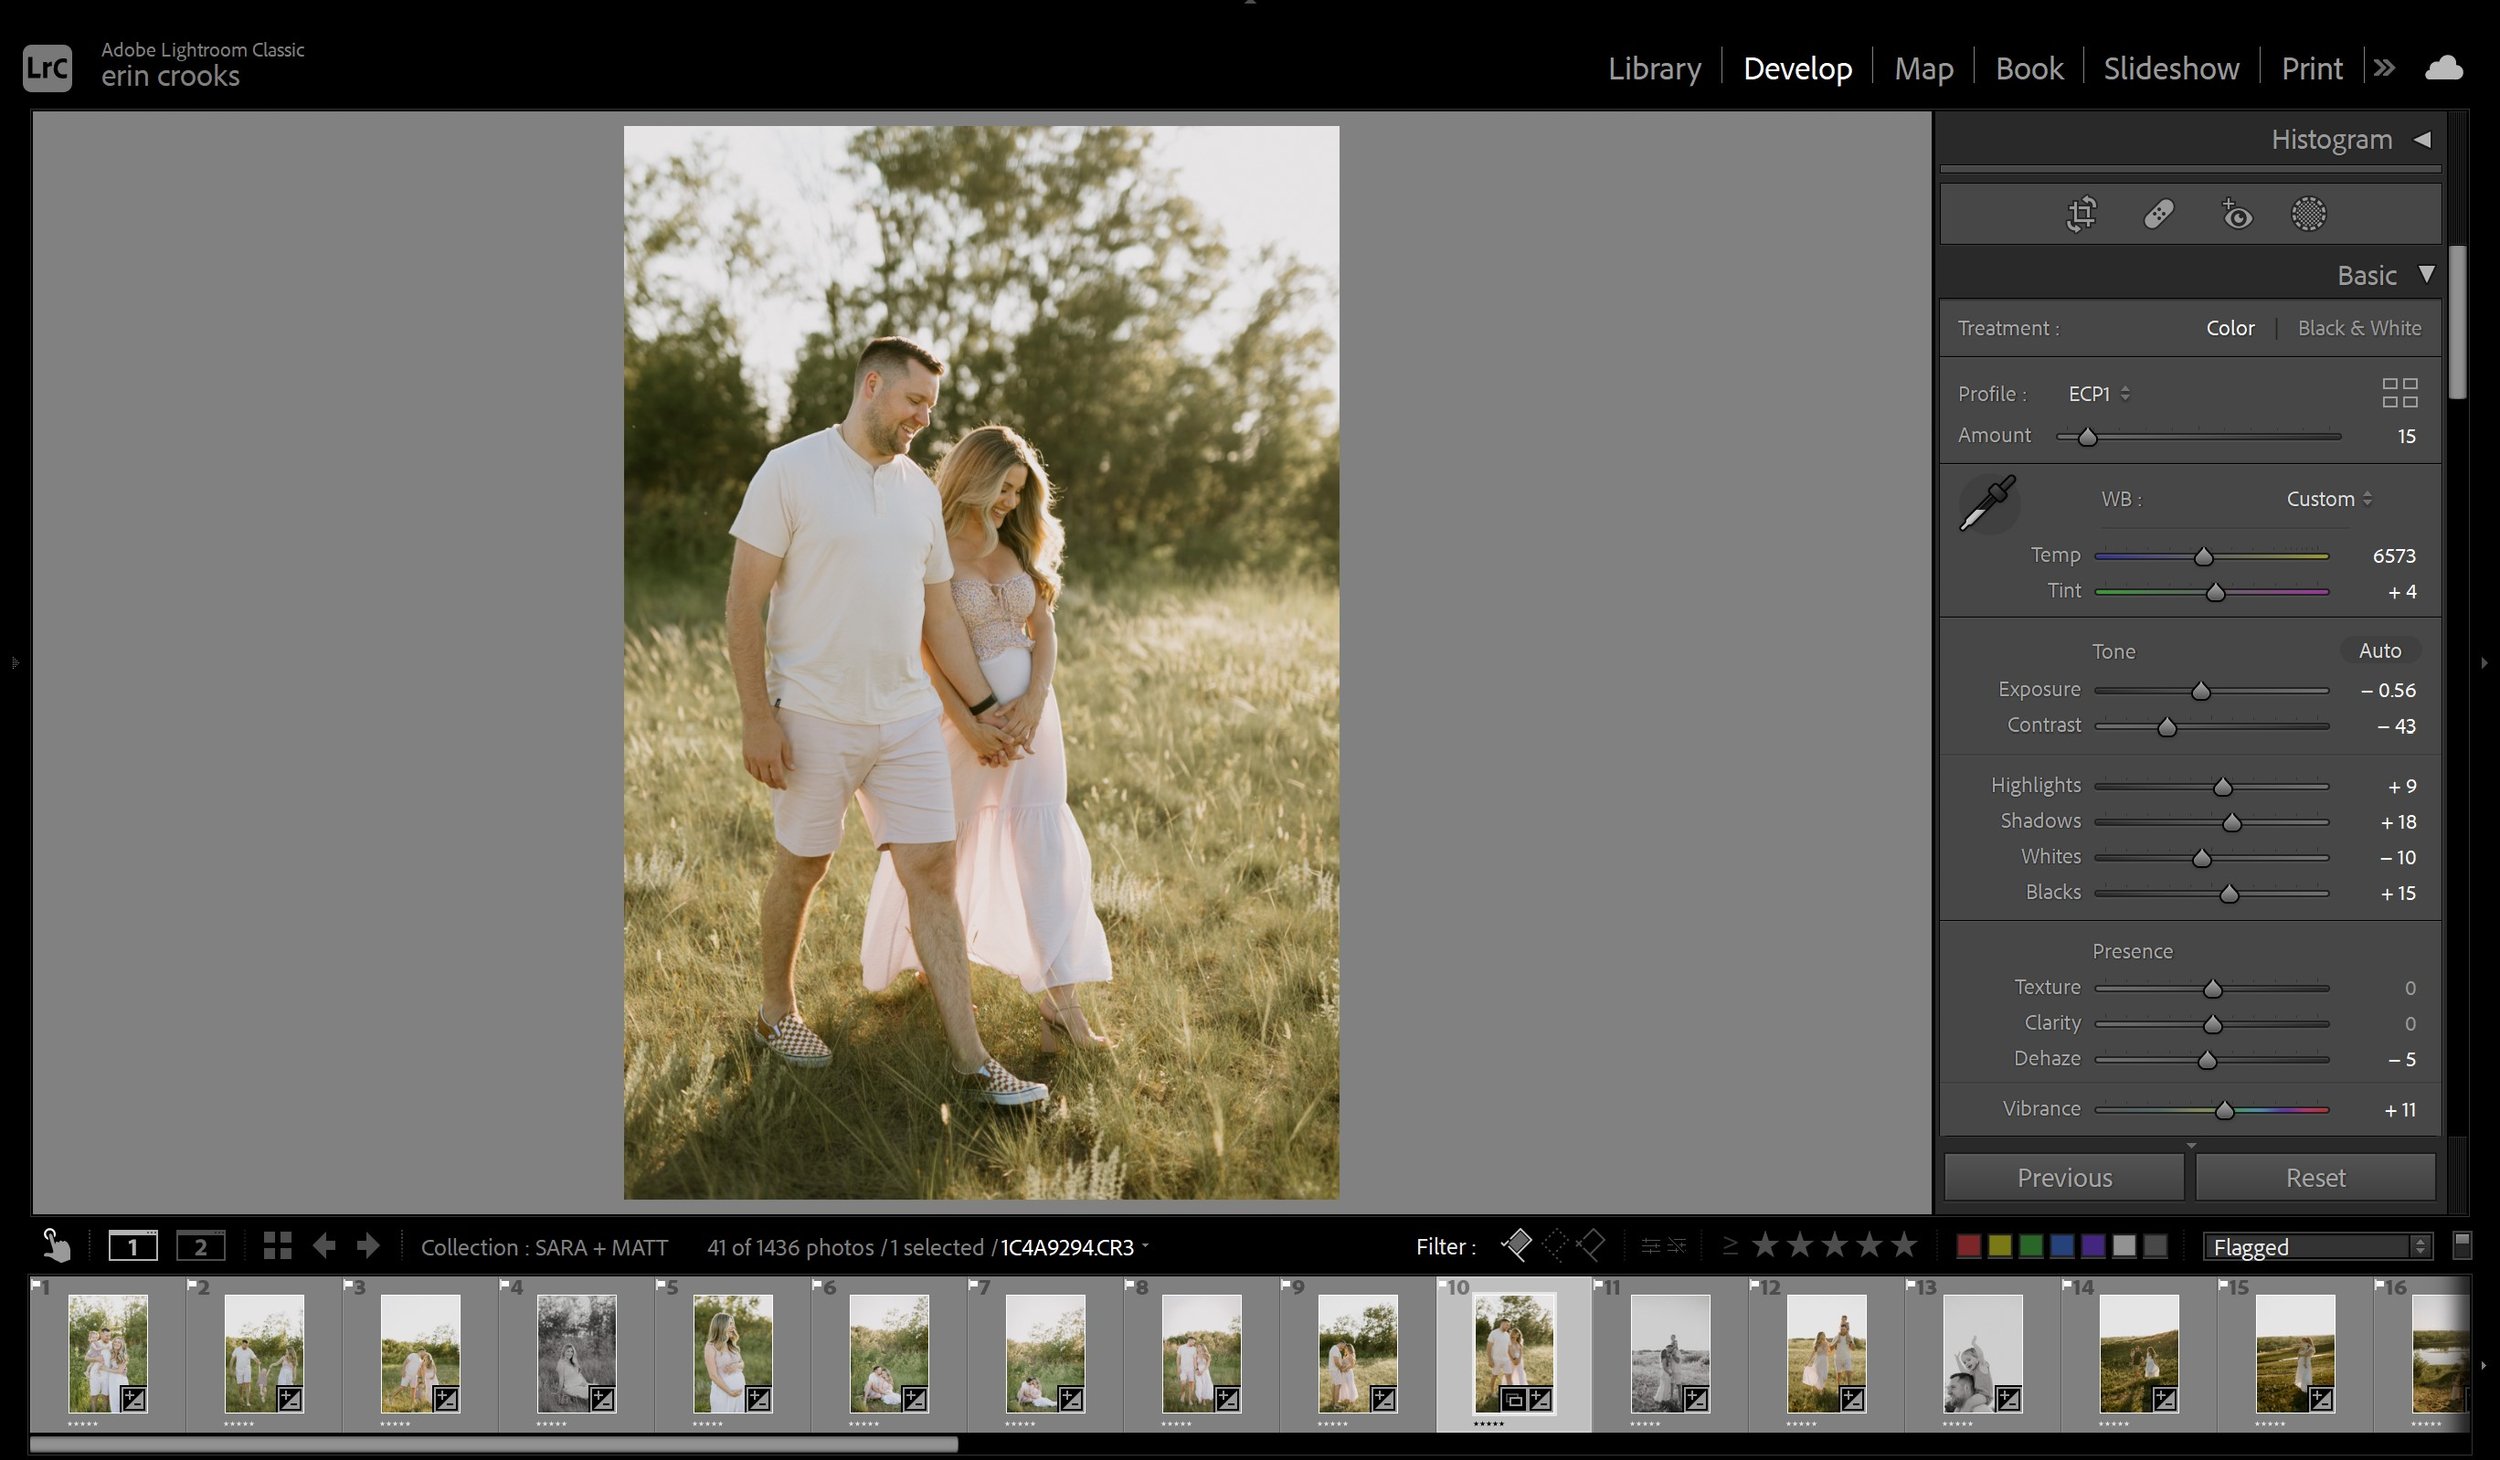
My Rated image choices open in the Develop Module ready for editing with Erin Crooks Presets!
4. Let’s edit our photos!
To get started on editing and find the style of preset I think suits the session the best, I start by selecting my Rated images, and heading over to Develop mode. Now you will see a single image instead of a gallery, and you will also see your presets on the left hand side. Hover over a preset to see it applied, find the best fit, click and make any additional adjustments needed.
Another reason I love to edit my top rated images first is because I find it saves me SO much time editing when I sit down to edit the entire session later on. I’ve found that when applying a preset and adjustments to varying Rated images throughout a whole Collection, it makes it so easy to come back to all my flagged choices.
I’m easily able to sync that preset to all the similar surrounding images in no time at all! Instead of starting from scratch on image one – you’ve got a good base of editing already done to work off of!
PRO TIP: Practice using Lightroom hot keys. It’ll make your life much easier in the long run as you can apply multiple commands simultaneously. It’s a huge time saver when you get used to them!
Getting used to these hot keys, culling, and figuring out why you choose one image over another will come with practice and experience. Soon you’ll be culling a session so quickly, getting those sneak peeks chosen and edited, exciting your clients or social feeds with fresh images, and making your life to much easier with all those base edits! This works so well for me, and I hope you find some tricks to implement into your workflow too!
—Erin
")


